

Service
Embroidery digitizing, done by hand.
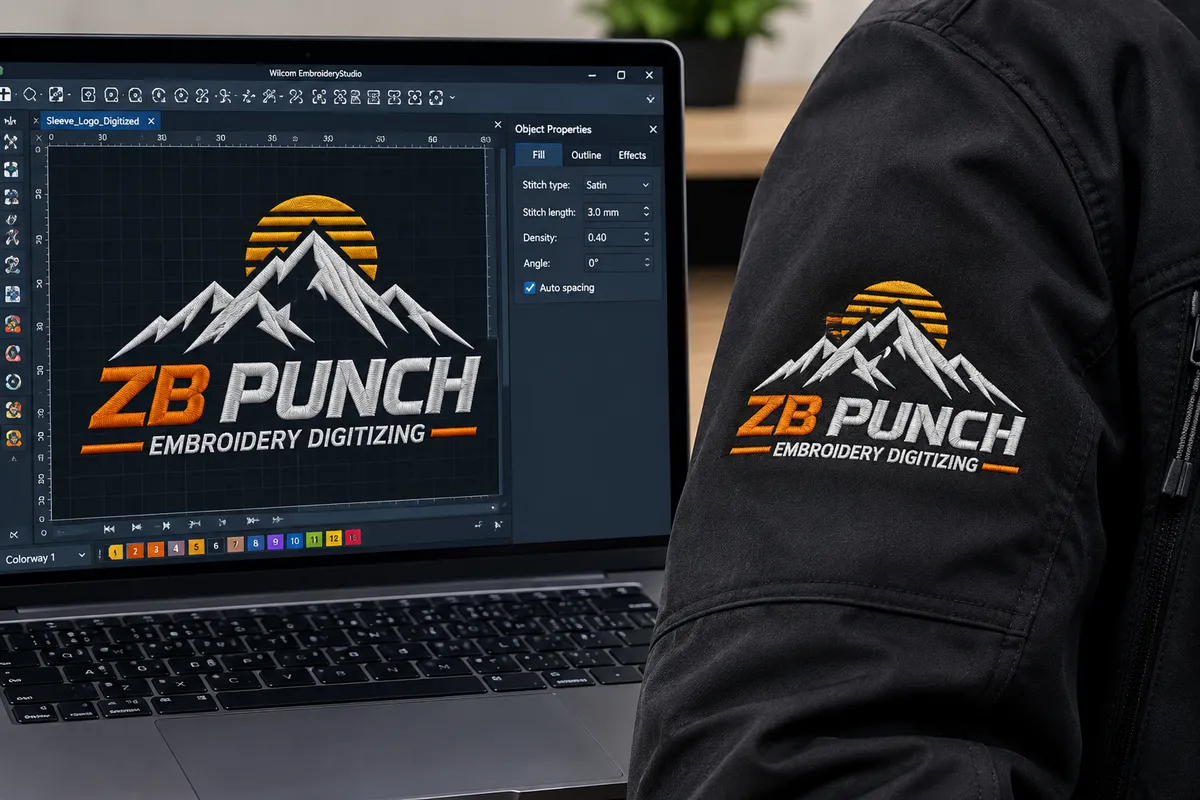
Digitizing is not converting a file. It is deciding, for every shape in your logo, how thread should behave on the fabric you are running — and then building the file so the machine does that reliably, on garment number one and garment number four hundred.
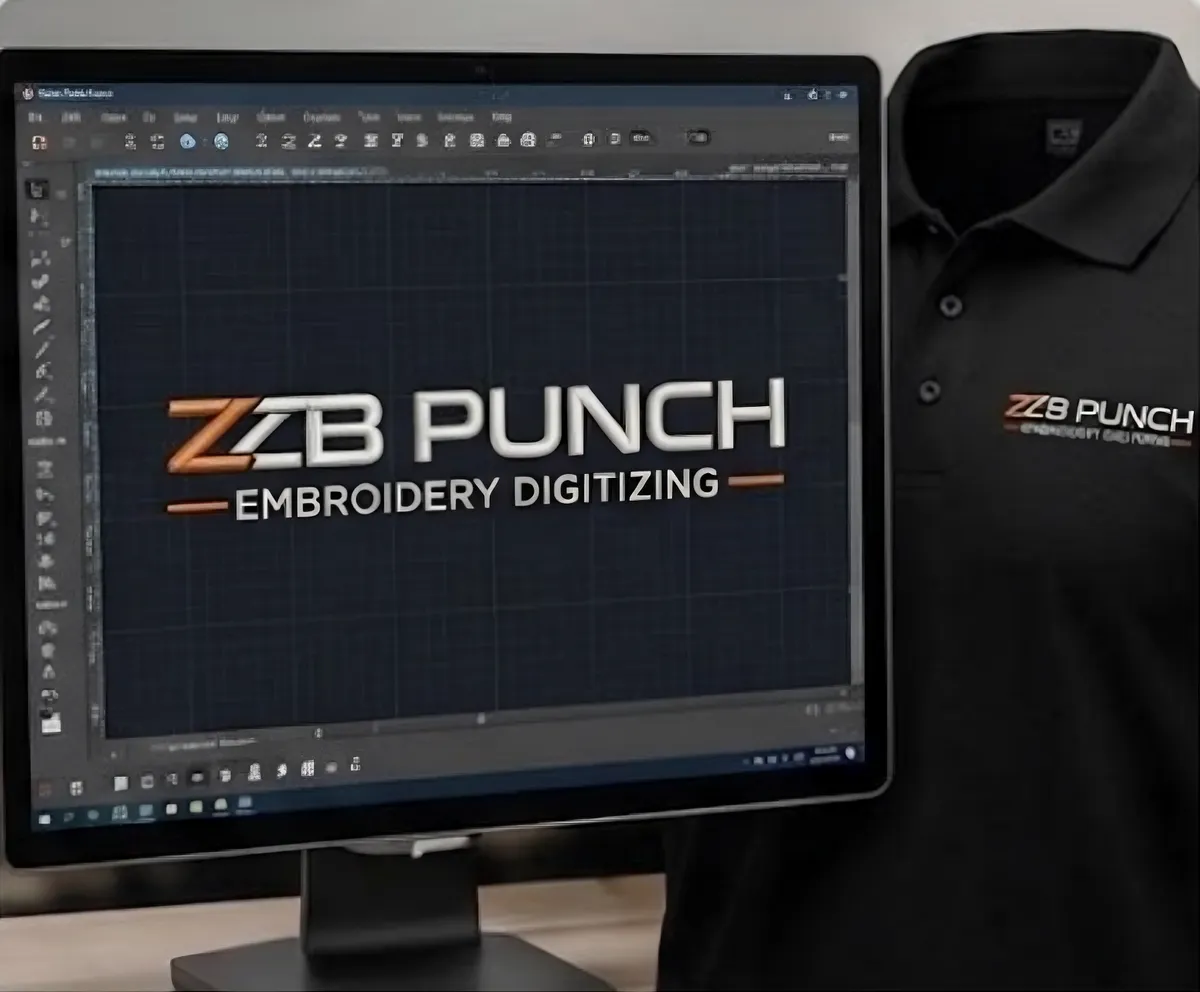
Positions we punch
Pick the position — the rules are on each page.
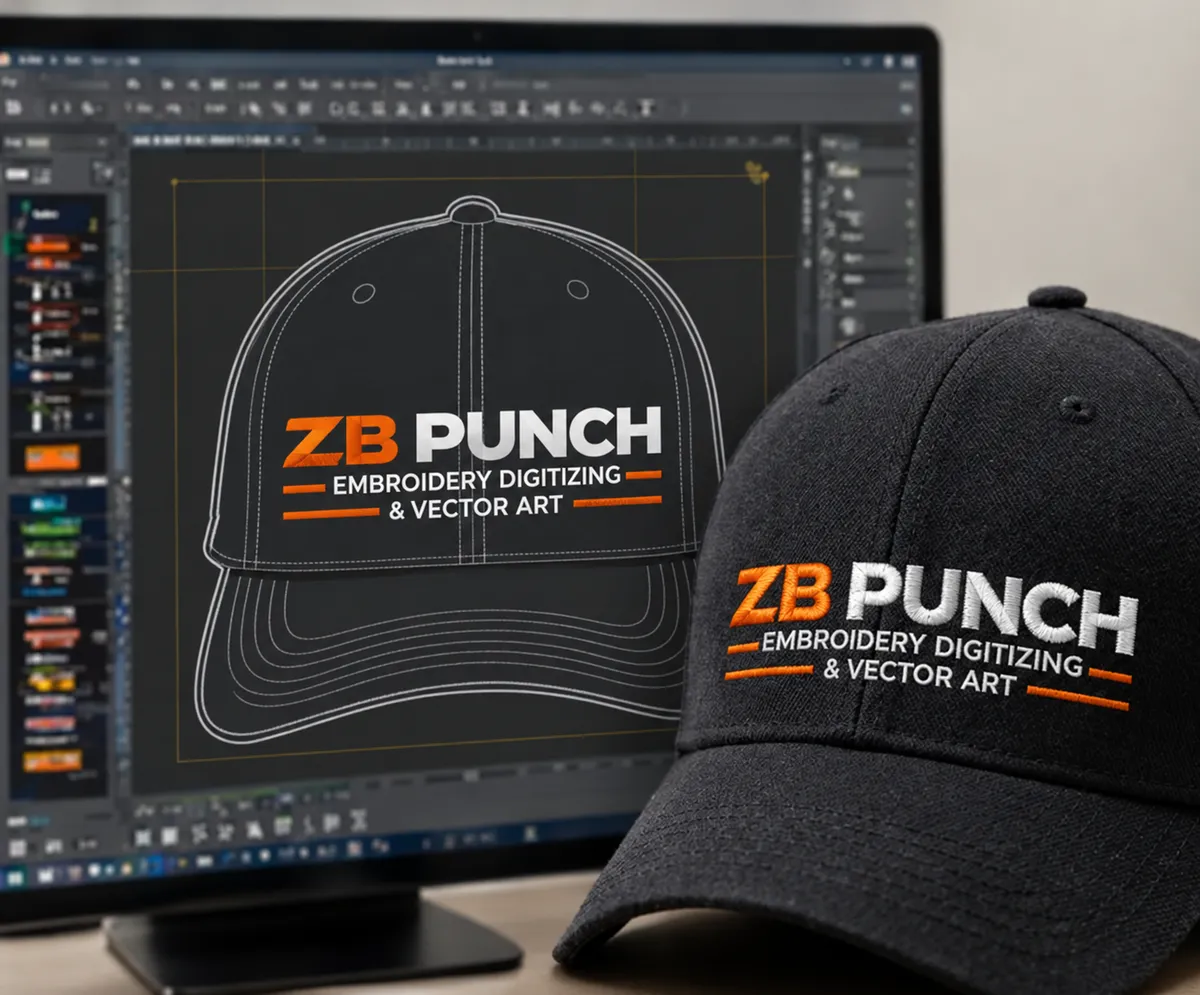
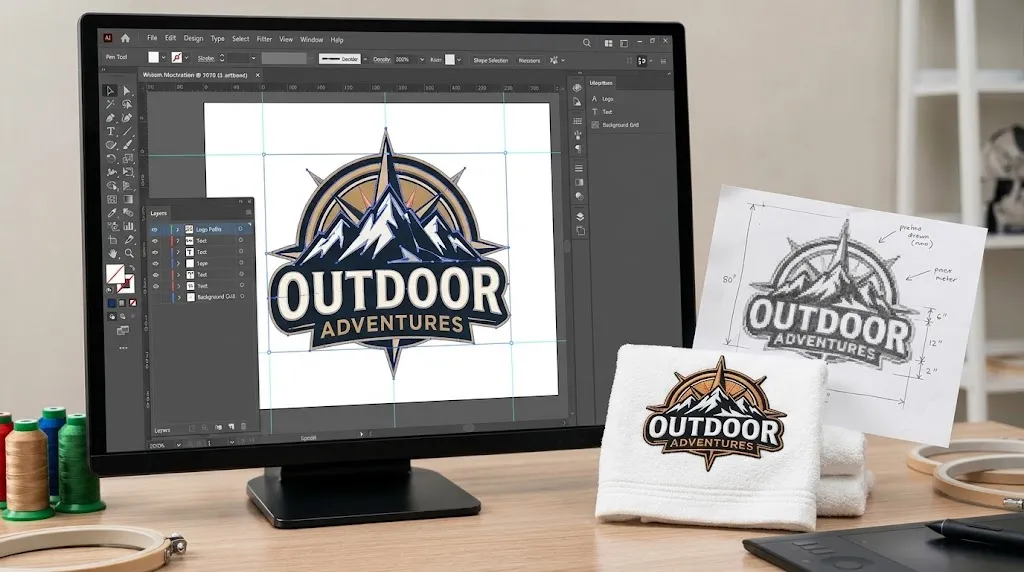
A cap is not a left chest with different dimensions, and a towel is not a polo. Each of these pages says what actually changes in the file.
The craft
Ten decisions that decide whether a file is any good.
None of these are settings you can leave on default. This is what an experienced digitizer is actually being paid to judge — and what a one-click auto-digitizer guesses at.
- 01
Underlay
The stitches nobody sees
They anchor the fabric, stop the top layer sinking into a knit, and stabilise the shape before the fill goes on. Wrong underlay is why a design looks fine on a woven and terrible on fleece.
- 02
Stitch density
How tightly the thread packs
Too loose and the garment shows through; too tight and you get a stiff plate that puckers and breaks needles. It changes with fabric, with element size, and with thread weight.
- 03
Pull compensation
Cancelling the distortion before it happens
Thread pulls fabric inward as it sews, so shapes come out narrower than drawn. We widen elements per direction to cancel it. Skip this and your outlines end up sitting inside your fills.
- 04
Satin stitch
Columns, lettering and borders
A satin column carries the sheen that makes embroidery read as embroidery. Width, angle and stitch length all shift with the element — a 2mm letter stroke and a 6mm border are not the same problem.
- 05
Fill stitch
Large areas without a flat sheet look
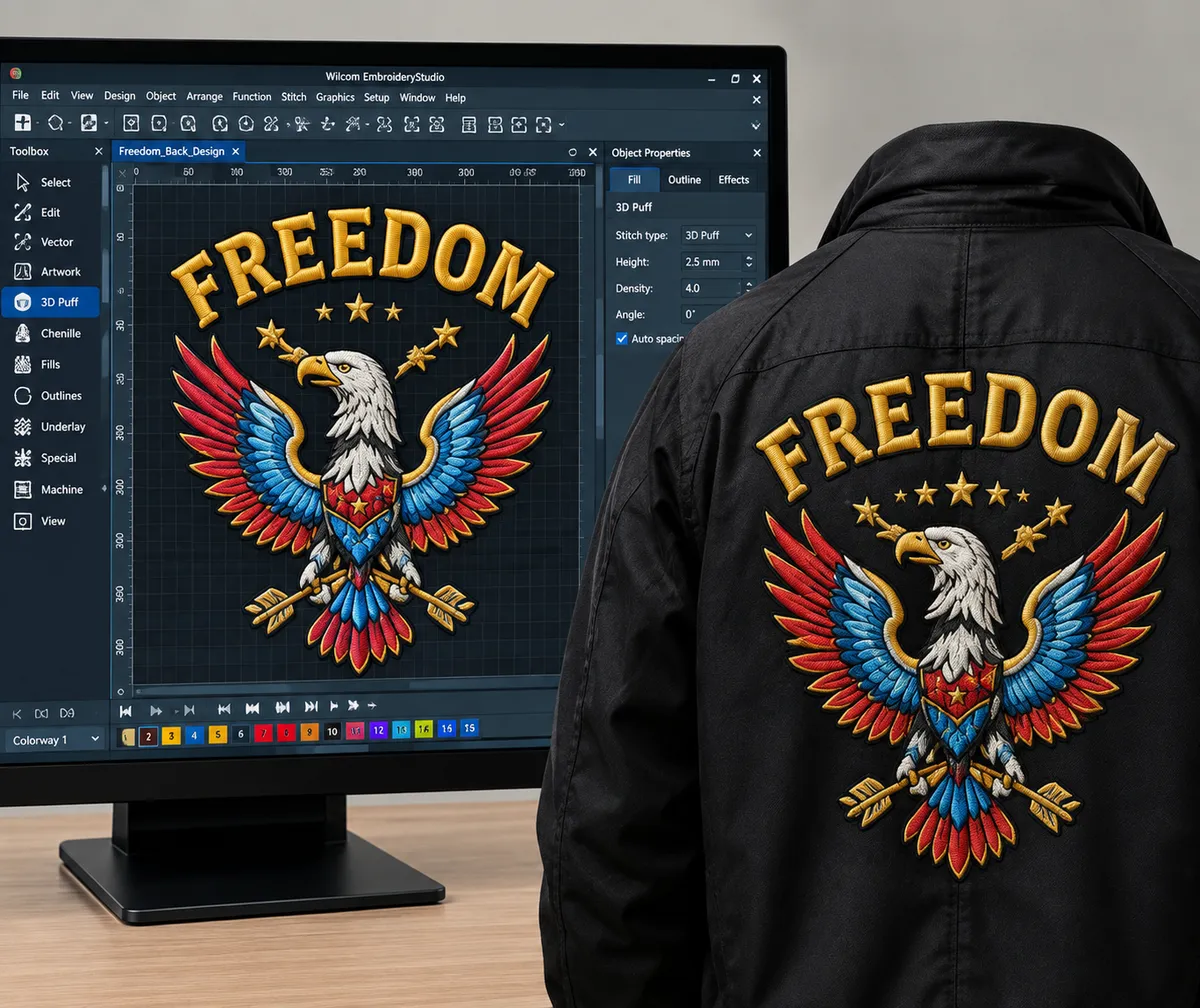
Deliberate angle changes and staggered penetration points stop a big fill reading like plastic. On an eleven-inch back we break fills into sections rather than running one continuous pass.
- 06
Stitch sequencing
What sews first, and why
Good sequencing anchors the fabric progressively, keeps registration tight, and cuts thread changes down so your operator is not stopping every ninety seconds.
- 07
Small lettering
Legible at 4mm cap height
At 4mm a satin column is under a millimetre wide. Letters under 5mm get a run stitch or a narrow satin with a single centre-run underlay, and the counters get widened by hand so the holes survive pull-in.
- 08
Cap sequencing
Bottom-up, centre-out, seam avoided
On a cap driver the fabric is under tension and moves cleanly in one direction. Load a flat left-chest file on a cap frame and the top of the design walks sideways down the panel.
- 09
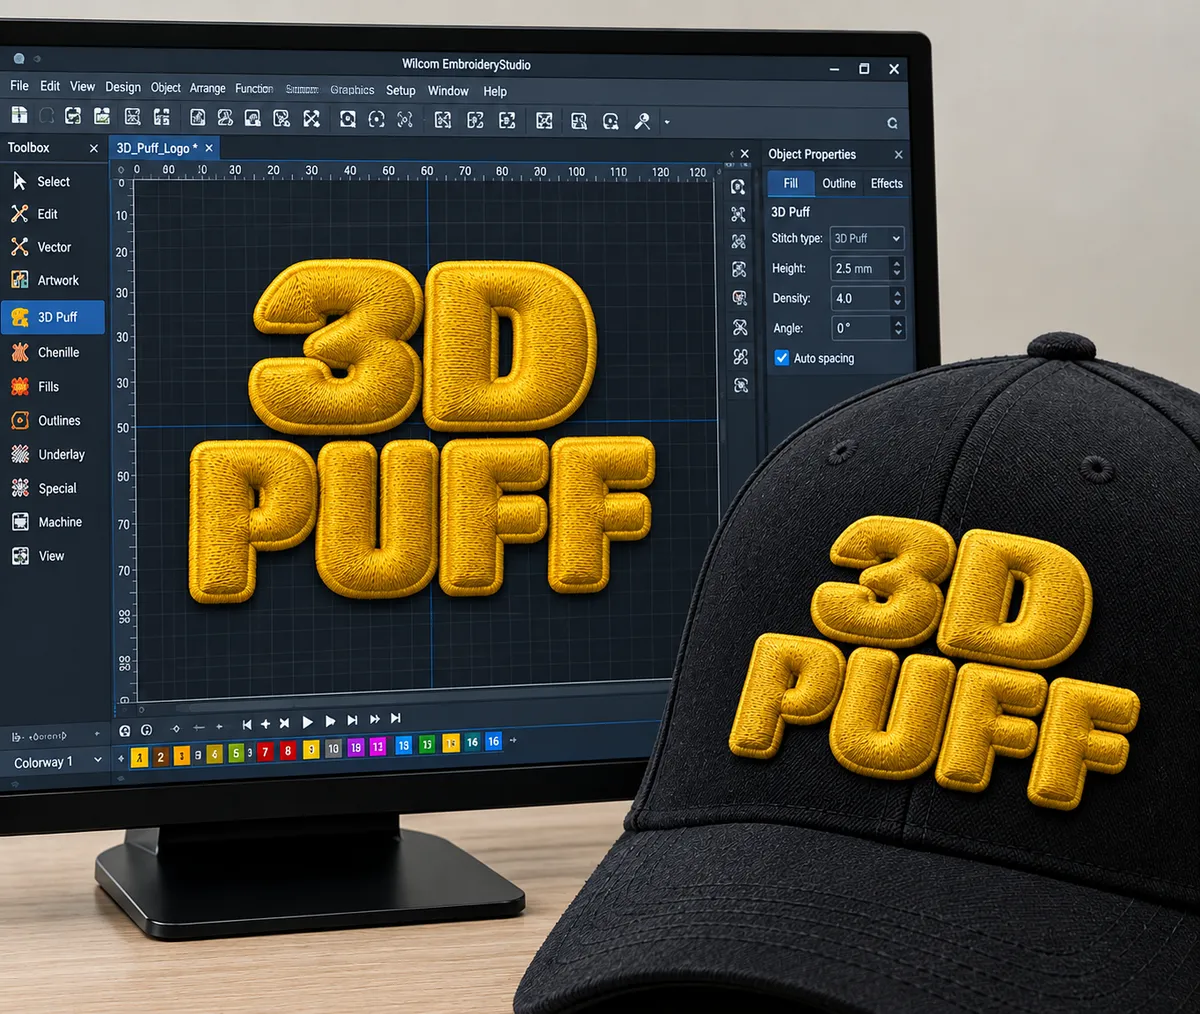
3D puff
Cutting foam cleanly, sealing every end
The satin has to be dense enough to perforate 2mm or 3mm foam so the excess tears away, with the angle crossing the boundary rather than following it. Every open end gets a cap or the foam shows.
- 10
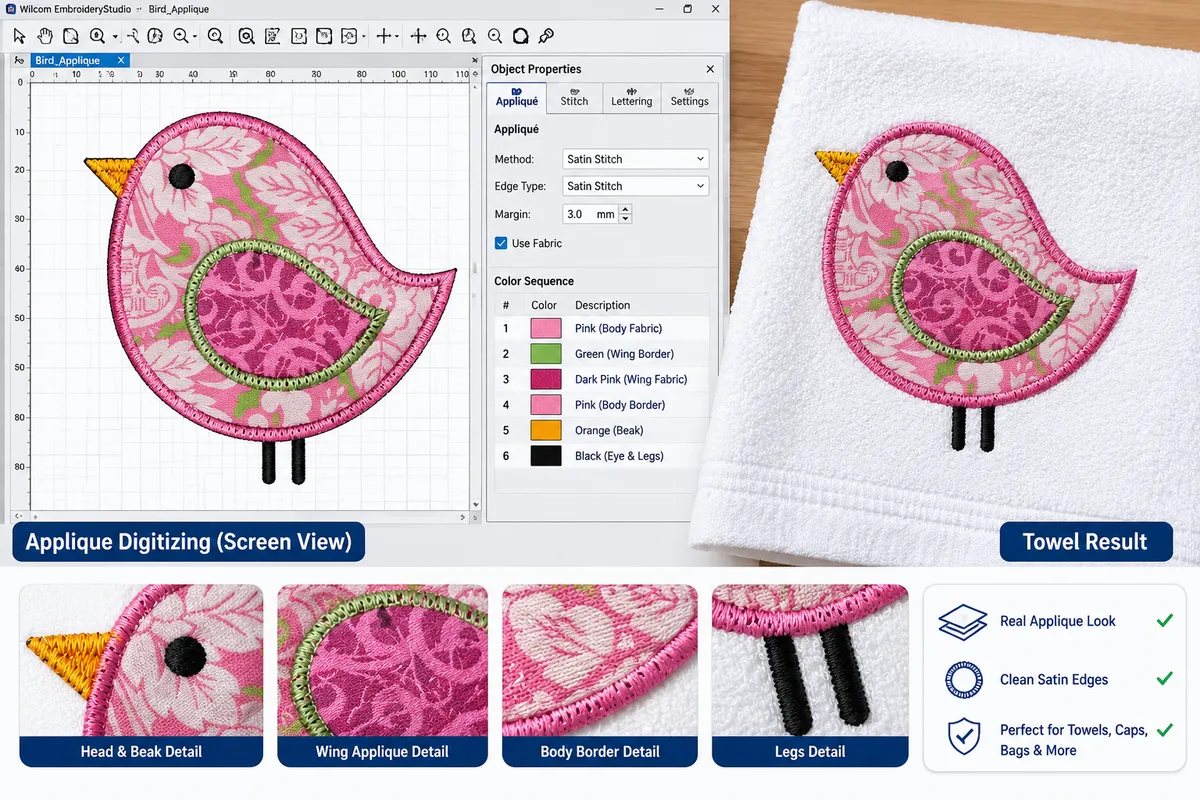
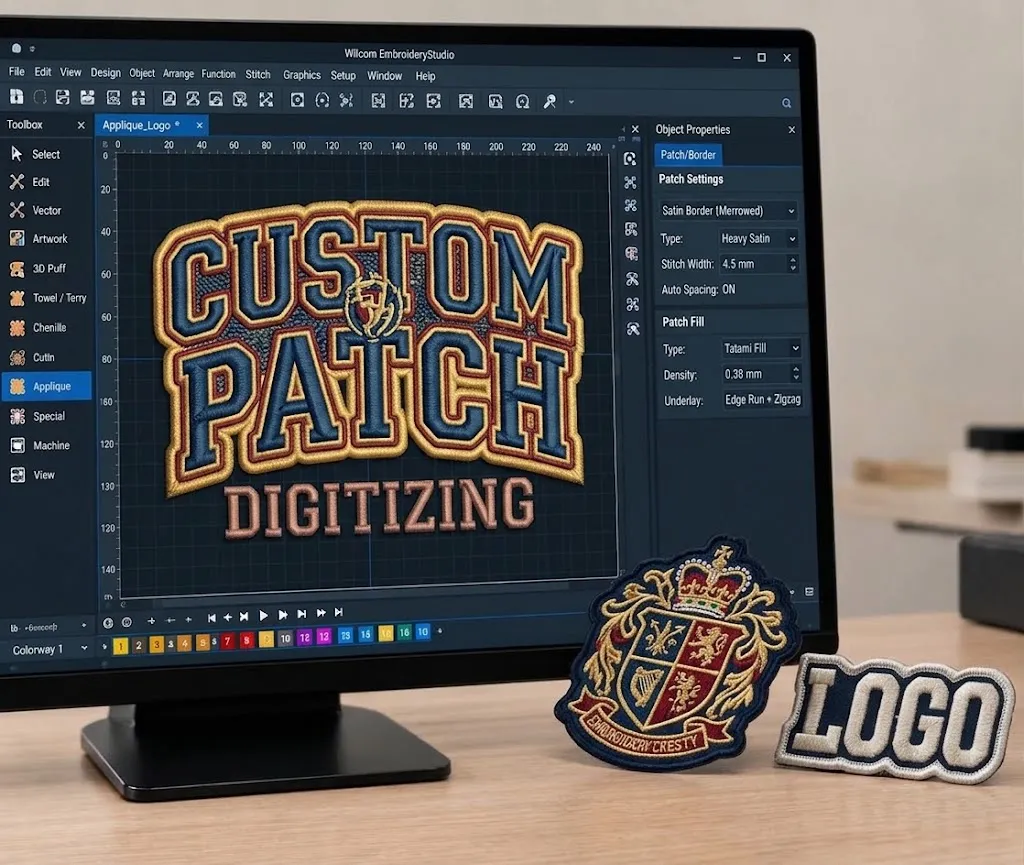
Applique
Four operations in one file
Placement run, tack-down, machine stop for trimming, then the cover stitch. All four with the stops in the right places and the colour blocks labelled in plain language.
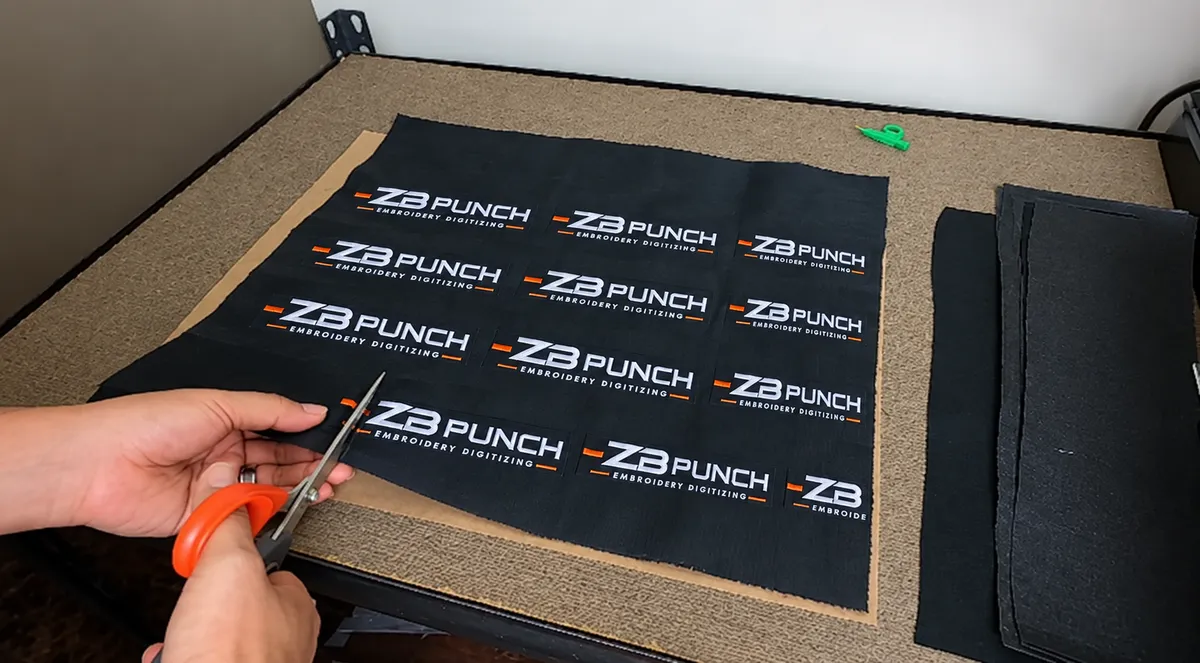
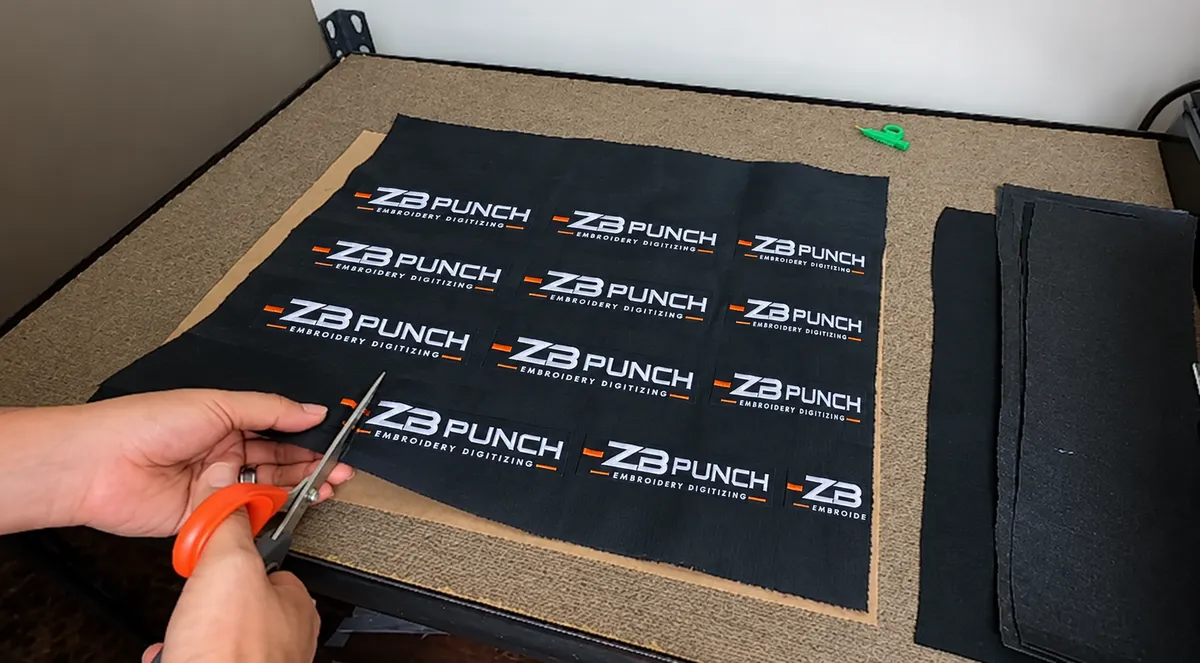
ZB Punch patches straight off the machine — crisp lettering and clean edges, ready to cut.
A fair comparison
Auto-digitizing is not useless. It is just not this.
One-click digitizing in modern software is genuinely decent at large, flat, single-colour shapes. Give it a two-inch wordmark with 4pt text, a knit polo and a client who will count the garments, and it falls apart in predictable ways: even density everywhere, underlay it guessed, no compensation, and a sequence that trims constantly.
If a job is genuinely simple we will tell you it is simple. We just will not charge you hand-punch prices for a button press.
Delivery
Formats, worksheet, preview.
Tell us your machine and we send the right file. Not sure? Say the brand and model and we will work it out — the list covers almost every commercial head in use.
Next step
Have a logo? Let's turn it into stitches.
Send your artwork, tell us the finished size, the fabric and the format your machine reads. You will get a price and a delivery time back — usually inside twenty minutes during working hours.
Or email info@zbpunch.com